Get Smart: Update Management for Large Websites
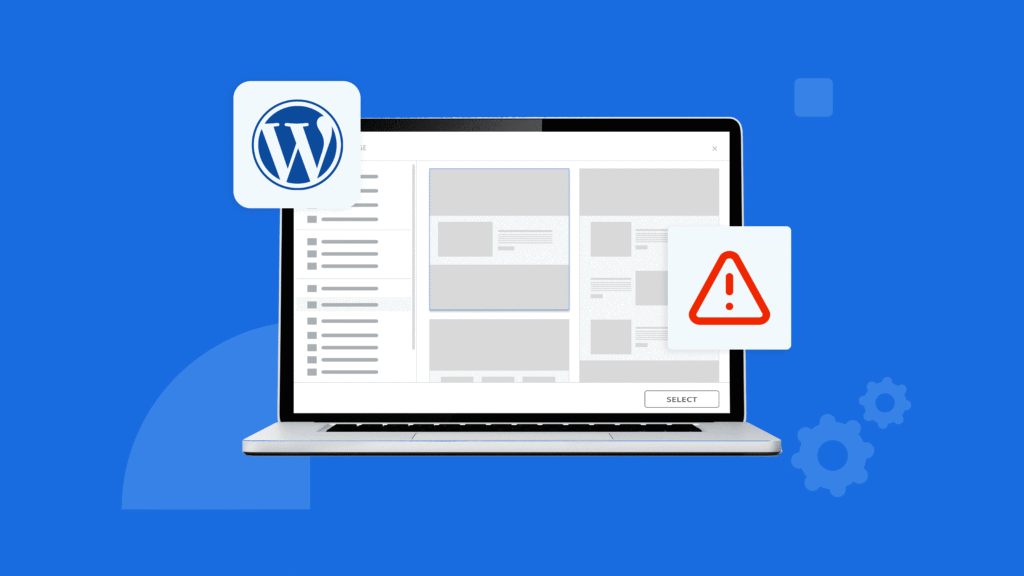
Managing updates on a small WordPress blog is simple — but on a large website with heavy traffic, multiple plugins, and complex functionality, updates can break layouts, cause downtime, and create security vulnerabilities.
That’s why using a smart WordPress update management strategy is essential.
In this guide, WP Care shares how large websites can handle updates safely, efficiently, and without causing interruptions.

Why Update Management Matters for Large WordPress Sites
Large websites often include:
- Dozens of plugins
- Custom-coded themes
- High traffic
- Integrations (CRMs, APIs, tools)
One update can cause:
- Plugin conflicts
- Theme compatibility issues
- Database errors
- Broken layouts
- Downtime
This is why WordPress update management must be done in a structured, careful way.
Step 1: Create a Proper Staging Environment
Never update a large website directly on the live server.
A staging environment lets you test all updates safely before pushing them live.
Use tools like:
- WP Staging
- WP Engine Staging
- Cloudways Staging
These tools help you preview changes without risking your live website’s performance.
Step 2: Perform a Full Website Audit Before Updating
Before making updates, run a quick WordPress Website Audit to detect existing issues or conflicts.
Check:
- Outdated plugins
- Deprecated functions
- High-risk themes
- Slow scripts
- Core file modifications
You can read more in our detailed guide:
👉 WordPress Website Audit
Step 3: Update the Most Critical Components First
Large websites should follow this update order:
- Backups (Always first)
- Plugins with security patches
- WordPress core update
- Theme updates
- Less essential plugins
This reduces risk and keeps the site secure even if later updates fail.
Step 4: Use a Backup & Rollback Strategy
A backup is your insurance policy.
Always keep:
- Daily cloud backups
- On-demand backups before updates
- 30–60 day backup history
Plugins like:
- UpdraftPlus
- Jetpack Backup
- BlogVault
make rollback simple if something breaks.
Step 5: Test, Test, Test (Before Going Live)
After updating in staging, test:
- Page speed
- Contact forms
- Checkout pages
- User dashboard
- Mobile menus
- Search functions
- Custom post types
Large sites break in small places — catching issues early saves hours of repair.
Step 6: Schedule Low-Traffic Update Windows
Large sites shouldn’t update during:
- peak hours
- sales
- new launches
- heavy traffic periods
Use analytics tools to find your lowest-traffic time and run updates then.
Step 7: Use Update Logs & Monitoring
Update logs help future-proof your process.
Track:
- What was updated
- When it was updated
- Who updated it
- What errors happened
Plugins like WP Activity Log help monitor every change in real time.
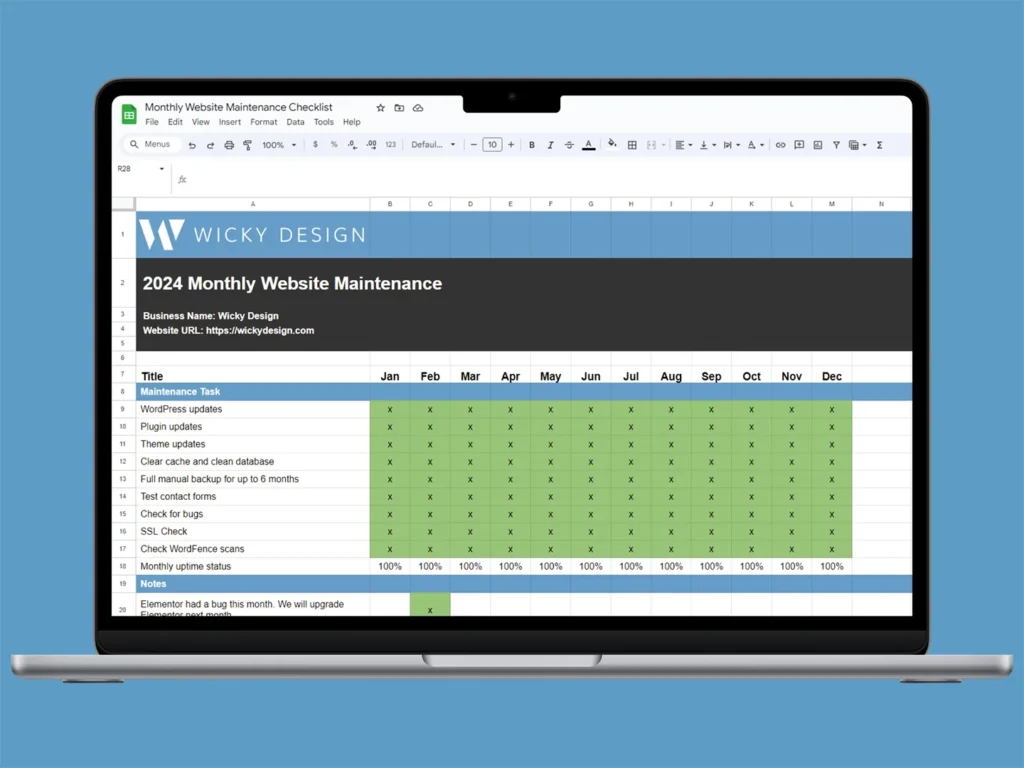
Why Large Websites Need a Professional Update Workflow
Managing updates manually is risky.
That’s why many businesses rely on WP Care for ongoing WordPress Maintenance.
Our update process includes:
- Staging-based updates
- Compatibility testing
- Backup automation
- Speed optimization
- Security checks
- Error monitoring
Get complete peace of mind with our service:
👉 WordPress Maintenance
WP Care’s Recommended Smart Update Stack
| Task | Tool | Purpose |
|---|---|---|
| Staging | WP Staging / Cloudways | Safe testing |
| Backups | UpdraftPlus / Jetpack | Rollbacks |
| Security | Wordfence / Sucuri | Patch protection |
| Monitoring | WP Activity Log | Track changes |
| Audits | WP Care Audit Service | Prevent conflicts |
Final Thoughts
For large websites, updates aren’t just routine — they’re high-risk operations that must be handled with care.
A smart WordPress update management strategy ensures:
- Zero downtime
- Strong security
- Faster performance
- Fewer conflicts
At WP Care, we manage updates for business websites, enterprise portals, and high-traffic WordPress platforms so you never have to worry about your site breaking.
👉 Visit WP Care: https://wpcare.io/
PHSpinLifeLogin, giving it a go was surprisingly smooth. No hiccups during login and the experience was alright. Worth a shot if you’re looking for an easy login experience. phspinlifelogin